How to Get a Visa Photo Under 240 KB
For DS-160 and the Diversity Visa entry, the photo has to be a square JPEG, between 600 × 600 and 1200 × 1200 pixels, and under 240 KB. A phone picture is usually 2 to 5 MB, so you have to shrink it before you upload.
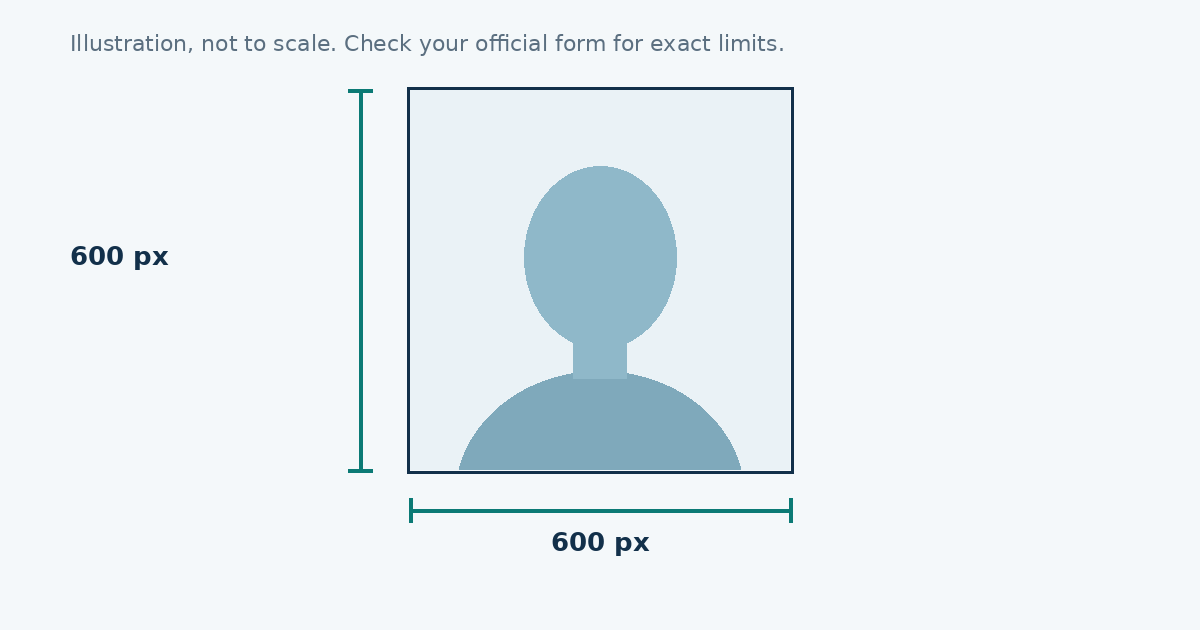
Why the file is too big
Phone cameras save pictures at 3000 pixels or wider. A passport photo only needs 600 to 1200. If you cut the pixel size and lower the JPEG quality a little, the file drops to well under 240 KB and the face still looks sharp.
Step by step
- Open the photo resizer and pick your picture.
- Choose “US passport / visa”. The canvas is 600 × 600.
- Use zoom and the move boxes until your head sits inside the oval. Leave a bit of space above your hair.
- Type 240 in the file size box.
- Press Download. The tool tries lower JPEG quality step by step until the file fits.
If it says it can’t fit, your photo has a lot of fine detail, such as a busy background. Retake it in front of a plain wall.
Check the file size yourself
On Windows, right-click the file and choose Properties. On iPhone, open Files, press and hold the picture and tap Get Info. On Android, open the file in Files and look at Details. You want 240 KB or less.
If the website still rejects it
- Make sure the file ends in .jpg or .jpeg. HEIC and PNG files are refused.
- The picture must be exactly square. 600 × 601 can fail.
- Look for shadows behind your head or on your face.
- Don’t use filters. Face smoothing is a common cause of a rejection.
- Wait a minute and try again in a different browser. Upload pages sometimes fail for reasons unrelated to your photo.
A note for DV lottery entrants
The DV entry uses the same digital photo limits as the passport, but the entry window and rules are announced each year. Read the current instructions on the official DV site before you submit. Only one entry per person is allowed.
What JPEG quality actually changes
A JPEG shrinks by throwing away detail your eye barely notices. High quality settings keep nearly everything and make big files. Mid-range settings cut the size a lot with little visible change. Very low settings leave blocky patches around the eyes and hair, and that is when a photo can look “edited”.
Our tool starts high and steps down only as far as it has to. It stops at the best quality that still fits under your limit, so you don’t have to guess a number.
A plain background is your friend
JPEG compression works best on smooth areas. A face against a clean white wall compresses well, so a 600 × 600 image is often far below the limit. A patterned shirt, a cluttered background or heavy grain pushes the size up. If your photo won’t fit, retaking it in better light often helps more than any setting.
Mistakes that quietly ruin the file
- Sending it through a chat app. WhatsApp and Messenger recompress pictures and lower the quality. Edit the original, not the copy someone sent you.
- Taking a screenshot. Screenshots are PNG files and have the wrong size.
- Photographing a printed photo. You get glare and a slight tilt, and the form may reject it.
- Resizing twice. Every re-save loses a little quality. Resize once, from the original.
iPhone and HEIC
New iPhones save pictures as HEIC by default, and most government upload pages don’t accept that format. Go to Settings, then Camera, then Formats, and pick Most Compatible. New photos will be JPEG. If you already have HEIC files, open them in Safari on an iPhone or Mac, or convert them to JPEG first, because not every browser can read HEIC.
Privacy
Phone photos often carry hidden data, such as the time and sometimes the place they were taken. When the resizer redraws your picture and saves it as a new JPEG, that data is not copied over. The file also never leaves your device.
The order that saves you time
- Take the photo against a plain wall.
- Resize and compress once, with the tool.
- Check the size on your device.
- Upload it.
Sources
Frequently asked questions
What size does a DS-160 photo need to be?
Square, between 600 x 600 and 1200 x 1200 pixels, JPEG, under 240 KB.
Why is my photo over 240 KB?
Phone photos are often 2 to 5 MB. Reducing the pixel size and JPEG quality brings the file down.
Can I upload a PNG or HEIC file?
No. Convert the image to JPEG first.
Does resizing in a browser upload my photo?
Not with our tool. It runs on your device and the photo never reaches a server.